This is my first Blog Hop–and Truth be told, I don’t have any idea what this is about! So, please bear with me as I learn. If I understand the concept, you should have come from Cali’s blog–and head to Sami’s after you visit mine. Hoping I have links correct here–obviously, I work in technology!!
I LOVE banners! They add a cute festive touch to my home–and I love to decorate with them. Here is my Halloween themed banner:
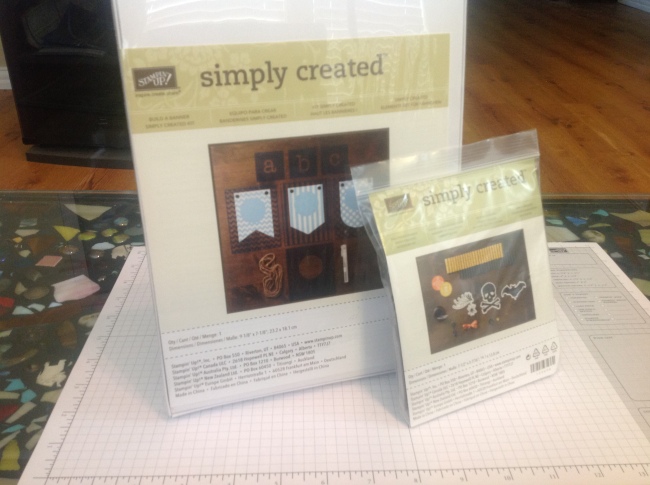
Want to know how I made it? I started with two items–the Build a Banner Simply Created Kit and the Halloween Banner Simply Created Accessory Kit.
Then, because I wanted to zhuzh it up a bit, (BTW, whatever happened to the Queer Eye guys?) I grabbed my Summer Starfruit, Basic Black and Pumpkin Pie paper and stamp pads, and my Black and Orange Stampin’ Glitter.
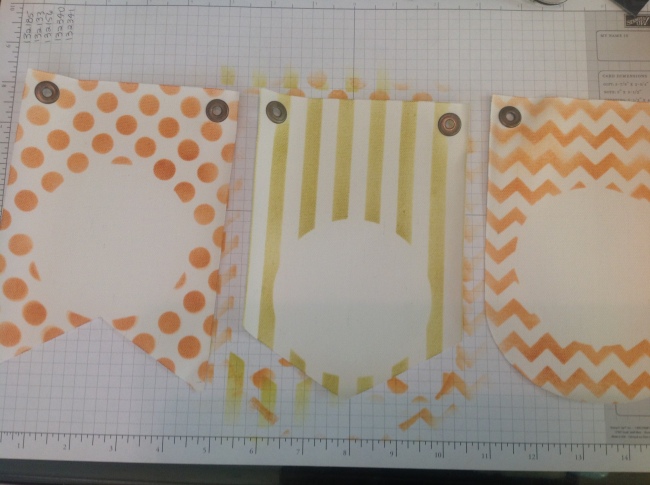
I started by using the image stencils. If I was more organized, I would have purchased the ink refills or the sponge daubers and looked like a pro. Instead, I cut up a home depot sponge I had from another project and used that with my ink pads and the stencils to color my banners. They ended up looking like this:
You will notice that the placement of the blank area for the lettering is not consistent–I noticed as well–when I laid them out for this photo. If I was more detail-oriented, I would have been disappointed–but, since I am not, and since this was going to say, “boo”, I decided that this just made it more whimsical and that it was a happy accident!
Now comes the fun part–deciding how to decorate this! I love the layering–so started with a black flag and orange glitter for the “b”. I tried to use my black StazOn Ink pad for the two “o”s (Is that how that should be written? I don’t think so–but, can’t figure out how to do that correctly. Teachers? Grammarians? Please pull our your red pen and fix that for me!) but, it wasn’t dark enough. (Note to self, order the Jet Black refill) SO, I decided to use the Tombo glue and black glitter for those. 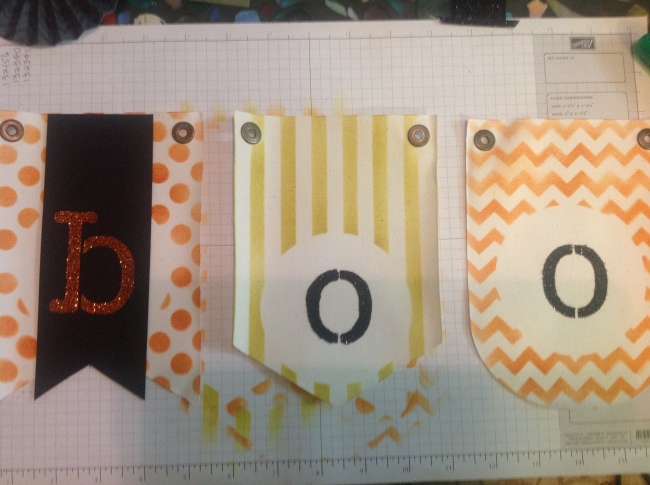
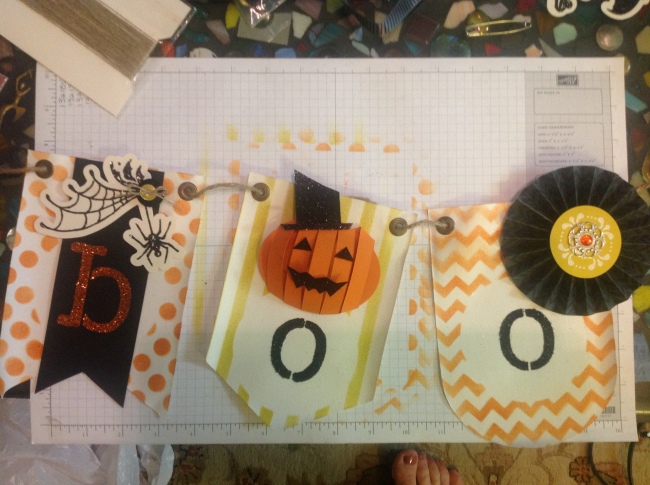
Now, onto the REALLY fun part–choosing the decorative elements! I used a few items from the Halloween kit–the black rosette and a starfruit center, the spider web, one black and one starfruit button. I added a bow to the button with linen thread from my stash and a designer builder brad with an orange “jewel” to the rosette center. (You do know the secret of making a jewel any color you want, right? Use a Sharpie to color the clear ones-it works PERFECTLY!) Now that I had both of the outside flags looking good, I knew that I needed something in the center flag that was “more” than what I had on hand. So, I made a jack-o-lantern with an oval framelit and my pumpkin pie paper, cut quarter-inch strips of paper to give it dimension, and spread the black glitter on black paper and cut out his eyes, mouth and top hat. He is certainly unique!
I threaded the jute through and I was done. Until I decided to add some ribbon between my letter–I may decide to add some to the ends as well–but, for now, here is the finished banner!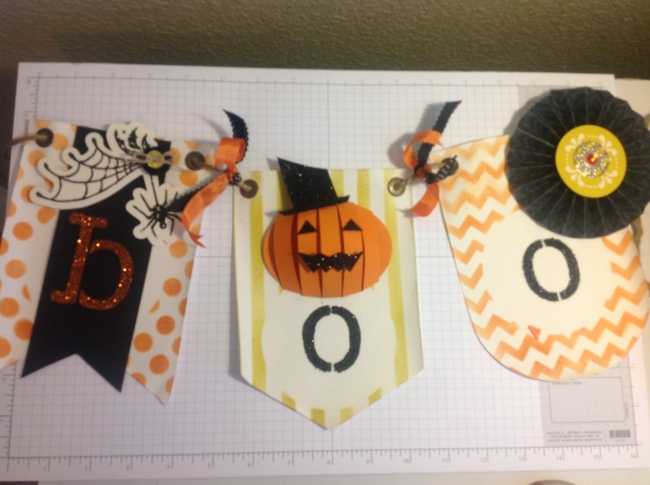
Happy Halloween to each of you–enjoy your trick-or-treating and may you get the GOOD candy! Enjoy the rest of the hop! Linda


Welcome to the Hop Linda! So glad to have you join us! Love your BOO banner! It is stinkin cute.
Caren
Thanks, Caren!
I LOVE it!! 🙂
Thanks, Denise!
Love your project! The pumpkin is very cute 🙂
Thanks, Cali!
You’re too funny! Love your projects! You did awesome for your first blog hop!
Thanks, Jessica! Obviously, I need to change my posting for the next one–didn’t do enough research before posting!